
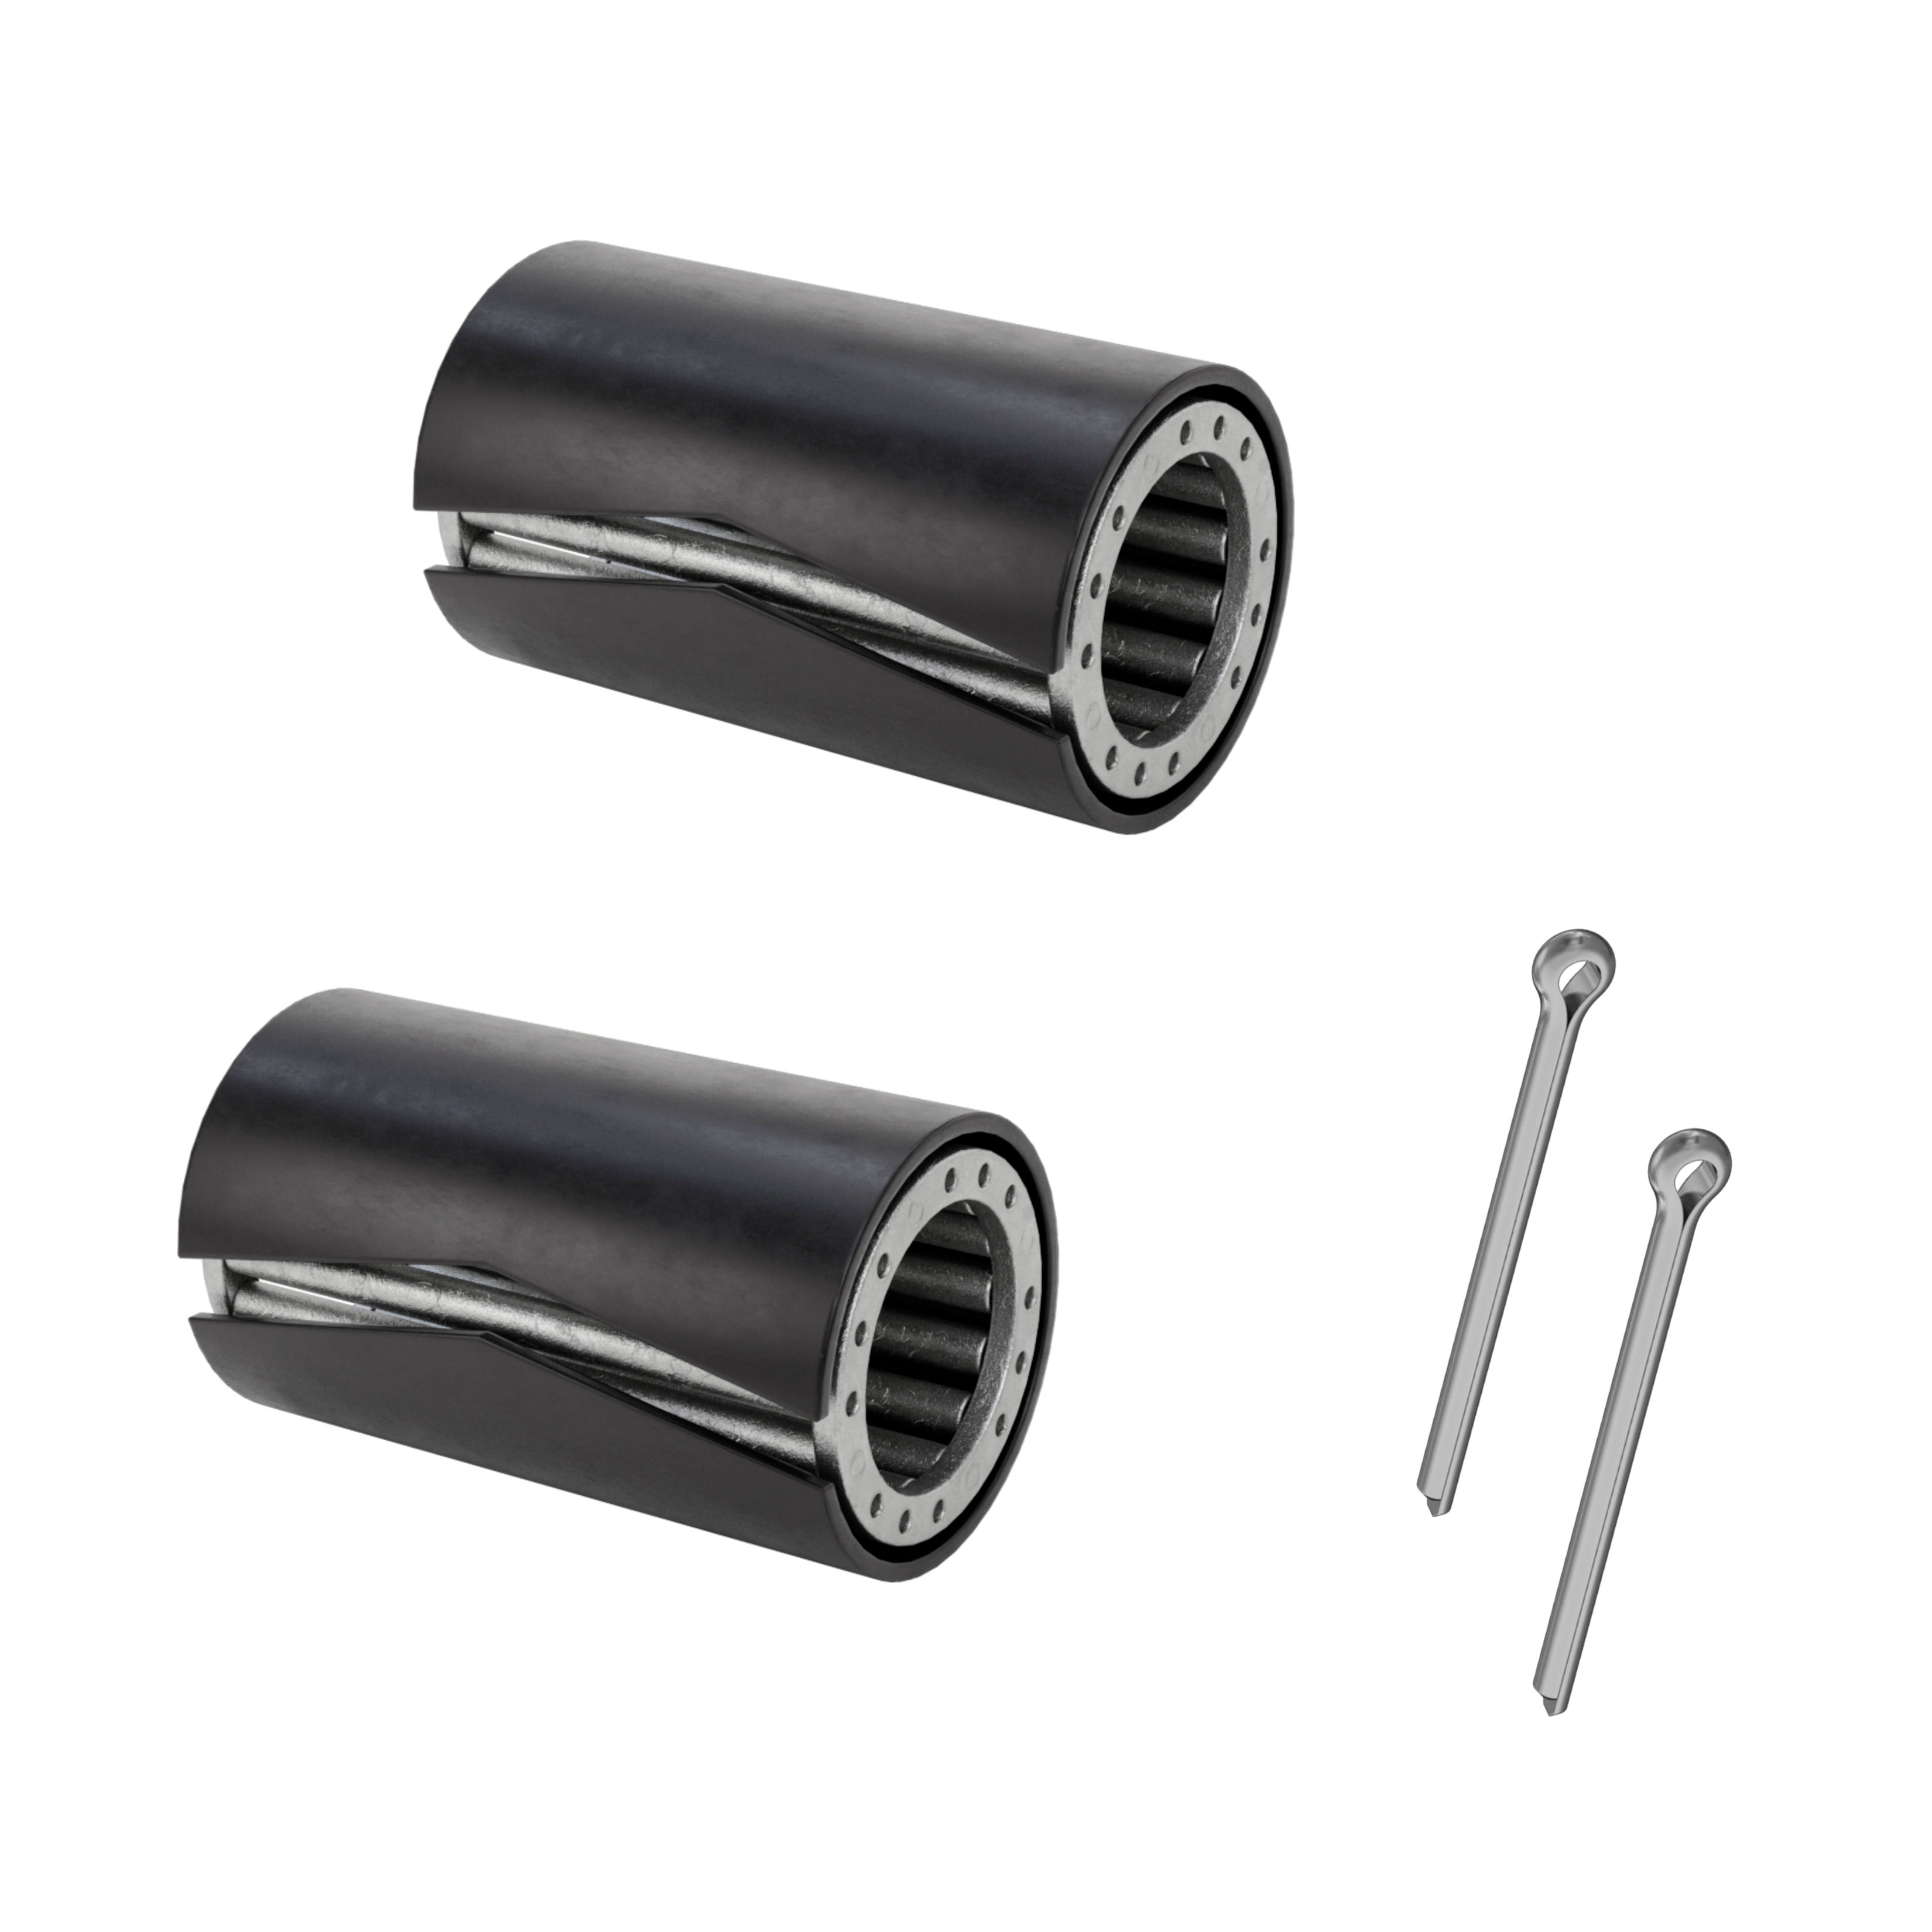
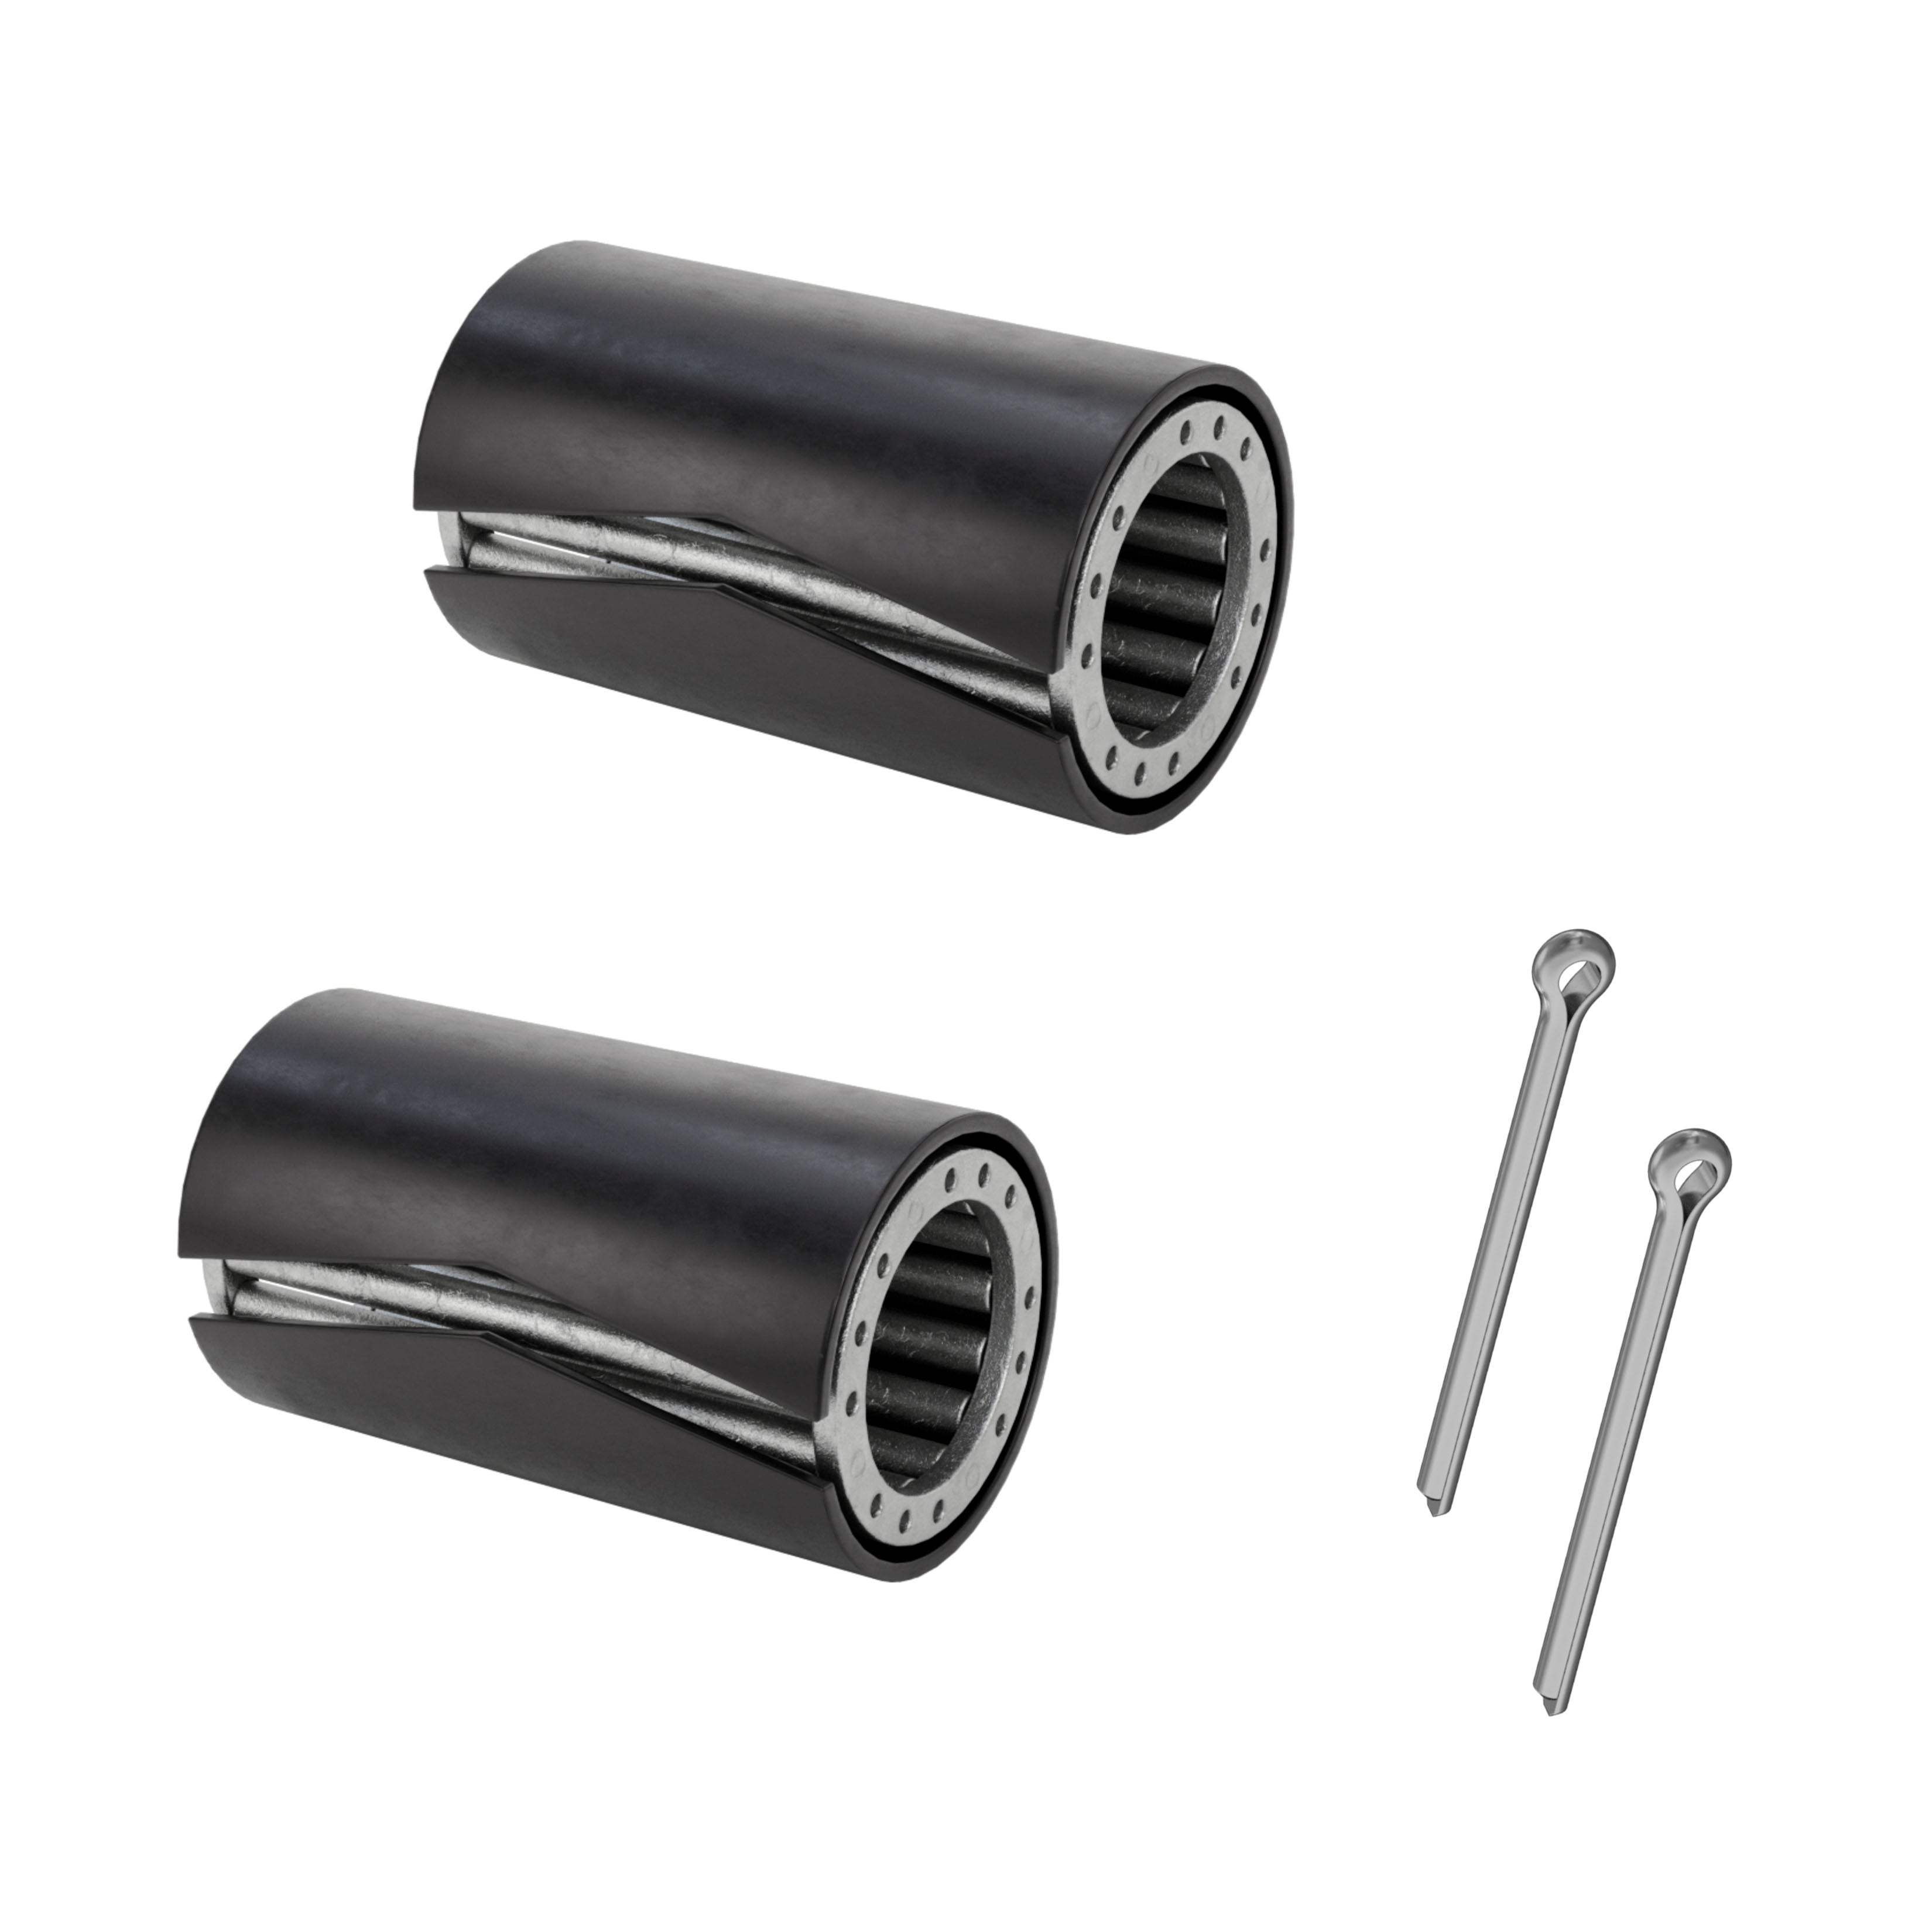
The Steel Roller Needle Bearing Upgrade Kit replaces the plastic bearings in your RocknRoller cart wheels with steel needle bearings. The goal is smoother rolling, especially under heavy loads and on plush grass or rough gravel. This is a hands-on upgrade: you pick the right set for your cart, take the wheels apart and press the new bearings in. This guide covers what to buy, what to have on hand and the steps for the back and front wheels, based on our install video.
Step 1: Choose the right set for your cart
The kit comes in two sizes, and how many sets you need depends on your cart model:
- R6, R8, R10 and R11: one Standard (150) set. There is no front wheel upgrade for these carts.
- R12: two Standard (150) sets, used for the back wheels and the front wheels.
- R14, R16 and R18: one Standard (150) set for the back wheels and one Long (250) set for the front wheels. The Long (250) set is for the front casters of these carts only.
Choose the size on the Steel Roller Needle Bearing Upgrade Kit page. Not sure which cart you have? Check the model name on your cart, or send us a photo and we will help.
Step 2: Gather your tools
- Scrap wood (you will use it for the front wheels)
- Needle-nose pliers
- A flat file (you might need it)
- A mallet (you might need it)
- Grease or another lubricant
- A rag
The kit includes cotter pins in case you need to replace yours. If you have our R12 / R18 Wheel Quick Release Kit installed, the wheels come off without tools. Without it, the back wheels are held by a standard cotter pin and the front wheels by a clevis pin and cotter pin, which you will bend straight with the needle-nose pliers.
Newer R12 carts: You may not need the black spring sleeve
Some newer RocknRoller R12 models do not need the black spring sleeve that comes with the kit. In our video the sleeve goes into the hub first and the bearing goes in after it, but on these newer wheels the sleeve is not needed.
One customer with a newer R12 Stealth told us the sleeve and bearing together were an extremely tight squeeze and the wheel felt very stiff. The wheel spun smoothly once the sleeve was left out and the bearing was dropped in on its own. If you have a newer R12, test-fit the bearing before you press the sleeve in. If the fit is very tight, the wheel feels stiff, or you are not sure which wheel you have, send us a photo of the wheel and your cart model before you go further.
Step 3: Replace the back wheels

- Remove the wheel. With the quick release set, release it. Otherwise bend the cotter pin straight with the needle-nose pliers, then take off the washer and the pin. The wheel comes off.
- Flip the wheel over and pry out the plug with the pliers.
- Pull out the old plastic bearing. It comes out easily.
- Take the sleeve out of the kit and press it into the hub by pinching it and pushing it in. Skip this step if your newer R12 does not need it.
- Put the new steel bearing in. The one in our video came with grease already on it.

A hand holding the bearing at the center of the wheel hub. Still from our install video - Pre-check the fit. The bearing should go in and out easily, and the wheel should slide onto the axle. If it does not, see the fixes below.
- Put the cap back in place, slide the wheel onto the axle, add the washer and reinstall the pin.
Step 4: Replace the front wheels

- Remove the pin that holds the axle. Without the quick release set this is a clevis pin and cotter pin, so remove the cotter pin with the needle-nose pliers. The front wheel comes off.
- Flip the wheel and pull out the brake and axle together. There is a washer on the front and back side of the fork.
- Pull out the plug with the pliers to reach the plastic bearing, then remove it.
- Pinch and push the spring sleeve all the way in. Skip this step if your newer R12 does not need it.
- Pre-check again before the bearing goes in. If the axle will not slide on, add grease or file the edge down until it does.
- Put the bearing in place and replace the cap.

A steel needle bearing in hand, ready for the front wheel hub. Still from our install video - Put the fork over the wheel with a washer between the fork and the wheel. Then add the axle and brake back in at the same time.
- This is the fiddly part. The axle can be wiggly and the cap can pop off. Push the cap back into place and push the axle all the way through the bearing.
- Rest the axle on your scrap wood so the wheel hovers over your workspace, then press down. The wood gives you something to push against.
- Make sure the brake is in place, put the pin back and bend it around with the needle-nose pliers, then reinstall the front wheel.

Needle-nose pliers working on the pin at the wheel hub. Still from our install video
Common problems and fixes
- The wheel is tight on the axle or will not slide on. Some customers have found burrs on the end of the axle, or an axle that is a little too thick. Use the flat file to clean off the burrs or reduce the axle diameter slightly. Grease helps too.
- The front axle will not go through the bearing. Push the cap back into place, rest the axle on the scrap wood and press down.
- The wheel feels stiff on a newer R12. Check the black spring sleeve note above, and send us a photo of the wheel.
- A bearing is damaged or comes apart during install. Stop and contact us. We are happy to help solve mechanical issues.
Watch the install video
Our 6-minute install video shows the whole job on a cart with the quick release set: Upgrade your RocknRoller Cart wheels with this Bearing Kit on YouTube. It starts with the tools and set sizes, then does the back wheels, and the front wheels start at about 2:34.
Get the parts
Get the Steel Roller Needle Bearing Upgrade Kit in Standard (150) or Long (250), and the R12 / R18 Wheel Quick Release Kit for tool-free wheel removal. Building a workstation on your cart? See the RocknRoller R12 and our compatible carts page. Questions about your cart? Contact us.